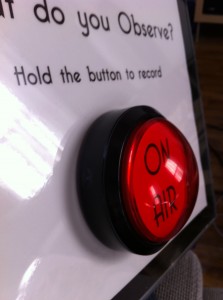
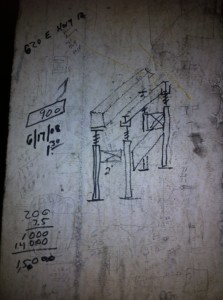
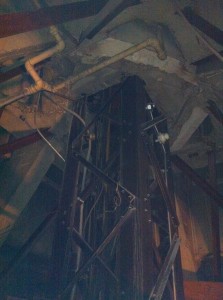
I am almost done creating the cable runs for the Foshay installation. (Big ups to Starfive, who was a big help!) All the lights and speakers are wired- those that remain are the microphone cables and the wiring for the record buttons. The shortest cables are about 30 feet, and the longest are over 100. All together, it will use around 4000 feet of different kinds of cable.
I’m surprised that it took me until now to solder together my own audio cables from scratch – here’s a photo getting started with my first homemade XLR. This was a test. The wiring worked fine, but I ended up snapping the plastic cable clamp. Good thing I have spares!
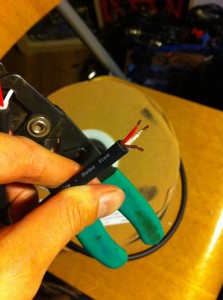
Making cables from scratch is a bit time consuming, but it lets you choose your materials and your lengths, and it’s significantly more cost effective. (And making stuff is fun.)
The equipment I needed for this project, like I’m certain is true with a lot of artists’ projects, is pretty antithetical to what’s most readily available. Consumer multi-channel amplifier and speaker systems are made for surround-sound home theater setups with 5-7 channels that will support as high fidelity and as wide a frequency response you can get (and probably as much volume as your neighbors will tolerate.) Professional multi-channel amps are made for super high quality studio applications, or movie theater or stage sound systems. For my purposes, I needed 24 discrete channels of audio, and only enough amplification to push low volume, low-fidelity, mid-frequency audio through speakers slightly larger than a silver dollar. Unsurprisingly, an amp for that doesn’t really exist.
I considered using small speakers with built-in amplifiers, basically something like a portable speaker you’d use to plug into an ipod, but all of those are powered with batteries and tend to be of dubious quality. Relying on battery power is a big problem for a long-term installation (Status Update was up for six weeks.) I actually first tried to use multi channel amplifiers built for car stereos. They still provided a lot more power than I needed, but otherwise they seemed perfect! Small, inexpensive, multi-channel, and readily available. But then I realized that it took a crazy hack job in order to make them run on standard power instead of what’s used in a car.
I ended up using an array of 12 small stereo amplifiers. Their most normal use would probably be powering a pair of bookshelf speakers in a non-audiophile’s bedroom. Maybe one day I’ll learn how to make my own amplifiers, but, that’s a whole different project.

